The Demo Editor can be used to create your own user-defined demographics using a variety of categories including age and gender, occupation, working status, number and presence of children, income, region, life cycle, education, generation and others.
Depending on your access level, these can be saved in either the User Defined area or the Site area on the Demo tab. For example, you may want to create a demographic such as "People 18-39 OG1 GBs".
To build an Individual Demographic:
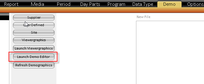
- To create a custom demographic, click the "Launch Demo Editor" button. This will launch a separate window, this will allow you to toggle between Fusion XTC and the demo editor.
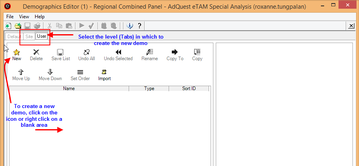
- The demographic editor will open, decide which tab to create the demographic in Site or User. Then on the designated tab either use the New icon on the quick access shortcut or right click on a blank space and select "new."
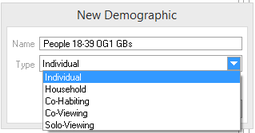
- Users will be required to enter a demo title and select a type of demo - Individual, Household, Co-habiting, Co-Viewing and Solo-Viewing. For more information on demo types see Demo Type. Click OK on the dialogue box.
- The new demographic will be displayed on the demographic list on the left of the screen, click on the new demographic to enable the attributes list to the right of the screen. Each attribute group is further broken out into individual attributes.
- To select an attribute, check the attribute group box. The attributes list will expand. Then select the items required for your demographic.
- Save the user defined demographics using the "Save list" icon as shown in step 1.
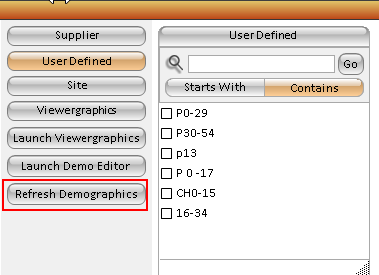
- Toggle back into Fusion XTC, and click on the "Refresh Demographics" button. Ensure that you are in the User Defined window to see the new demo.